

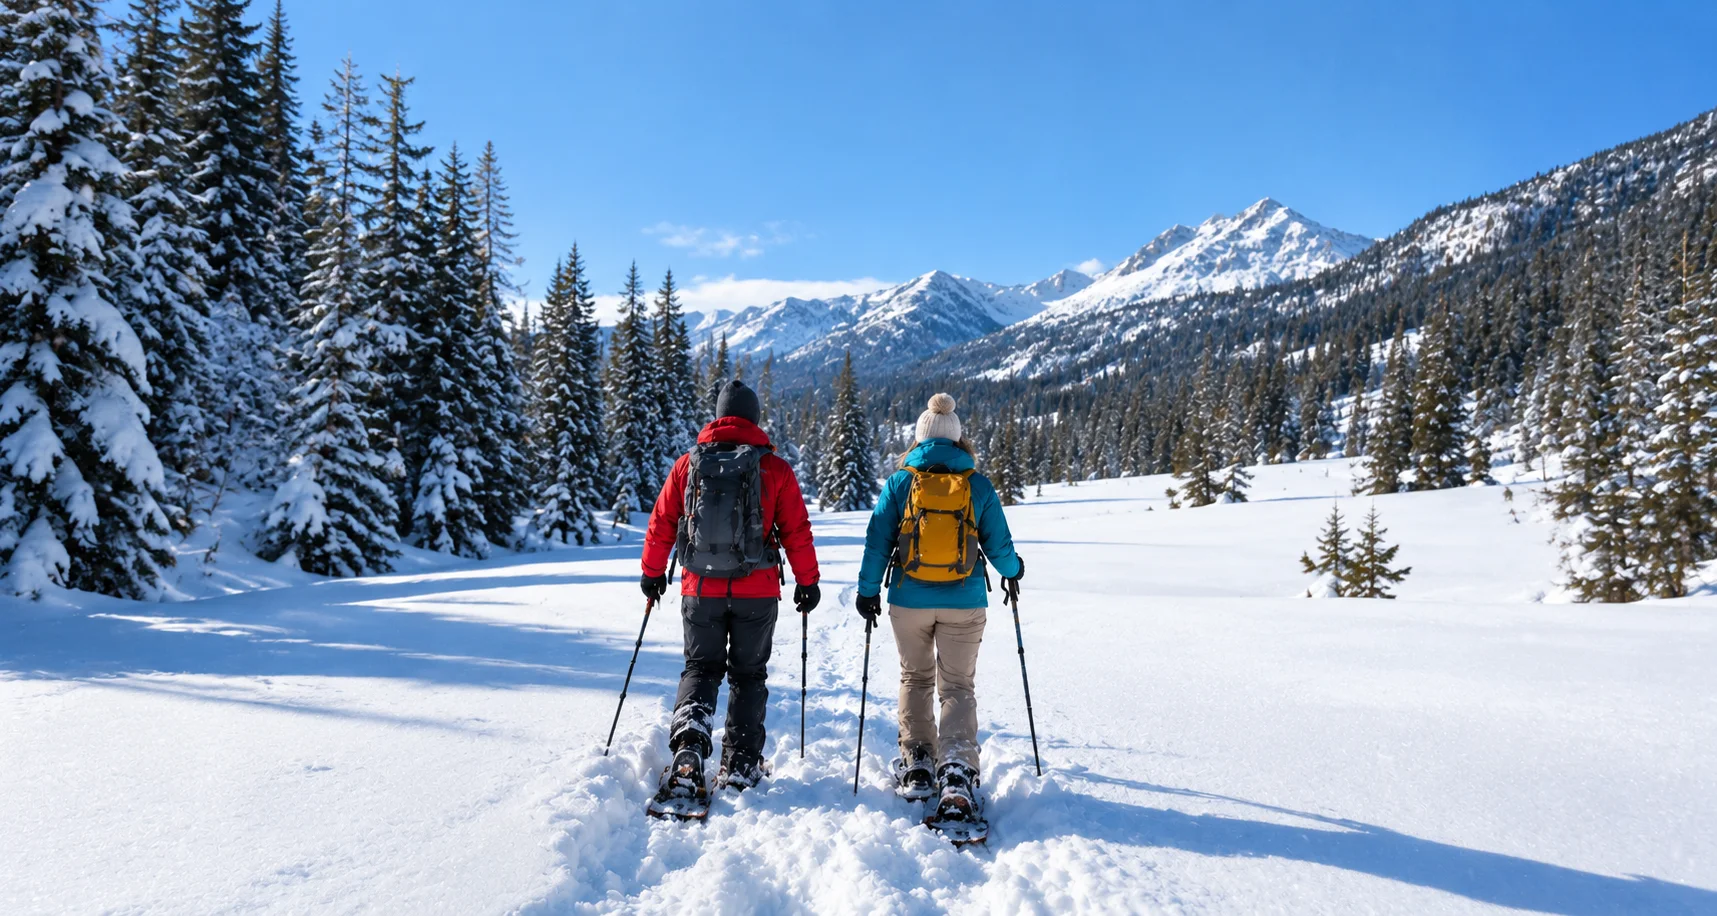
When I first put on a pair of snowshoes, I was sure I would fall on my face in ten steps. So I walked half a mile into the quiet spruce forest outside Winter Park, Colorado, snow squeaking under my feet, breath hanging in the air, and nobody in sight. No lift ticket, no lessons, no learning curve. Just me, a borrowed pair of shoes, and a frozen meadow glowing pink in the last light of the day.
That is the quiet secret of the sport. Finding the best trails for winter snowshoeing is not about athletic talent but about knowing where to point your boots. If you can walk, you can snowshoe, and in this guide you’ll get the routes, the gear, and the little tricks to make your first outing a special one and a wonderful introduction to winter snowshoeing.
Let me take you through it the way I wish someone had walked me through it.
Why Winter Snowshoeing Is the Sport Nobody Warns You Is This Good
Skiing wants your money. Snowboarding wants your ego. Best trails for winter snowshoeing ask for almost nothing and give back a whole season.
Rent a pair for the price of a nice lunch, pull them on over waterproof boots, and you are ready. There is no chairlift, no crowd, and no ski-boot shuffle across an icy parking lot. The learning curve and the fun curve run along the same line, which is a polite way of saying you start enjoying yourself on step one.
The appeal goes deeper than convenience. Best trails for winter snowshoeing turn trails you already cherish in summer into something entirely new and strange in the best way. A trail you have walked a dozen times in July becomes a white corridor in January, the only sounds your own feet and the snow sliding off a tree. It is a low-impact workout that still leaves your legs pleasantly wrecked, and it brings you sights that skiers rush past at forty miles an hour.
It also solves a real problem for mixed groups. When your friends span every fitness level, and nobody agrees on skiing, Best Trails for winter snowshoeing allows an 8-year-old and an 80-year-old to follow the same trail at the same time. That is rarer than it sounds.
How Snowshoeing Stacks Up Against Other Winter Sports
| Winter Sport | Learning Curve | Typical Day Cost | Gear to Buy | Crowds |
|---|---|---|---|---|
| Snowshoeing | Minutes | $ (rental only) | Snowshoes + poles | Almost none |
| Downhill skiing | Days to weeks | $$$$ (lift + gear) | Skis, boots, poles | High |
| Snowboarding | Days to weeks | $$$$ | Board, boots, bindings | High |
| Cross-country skiing | Hours to days | $$ | Skis, boots, poles | Low to moderate |
First-timer takeaway: Best trails for winter snowshoeing are the only option here where you can go from “never tried it” to “genuinely enjoying myself” within a single afternoon, on rental gear alone.
How to Spot a Beginner Trail Before You Get There
Before I send you out to specific routes, learn to read a trail yourself. The best trails for winter snowshoeing for a first-timer: a short, honest checklist.
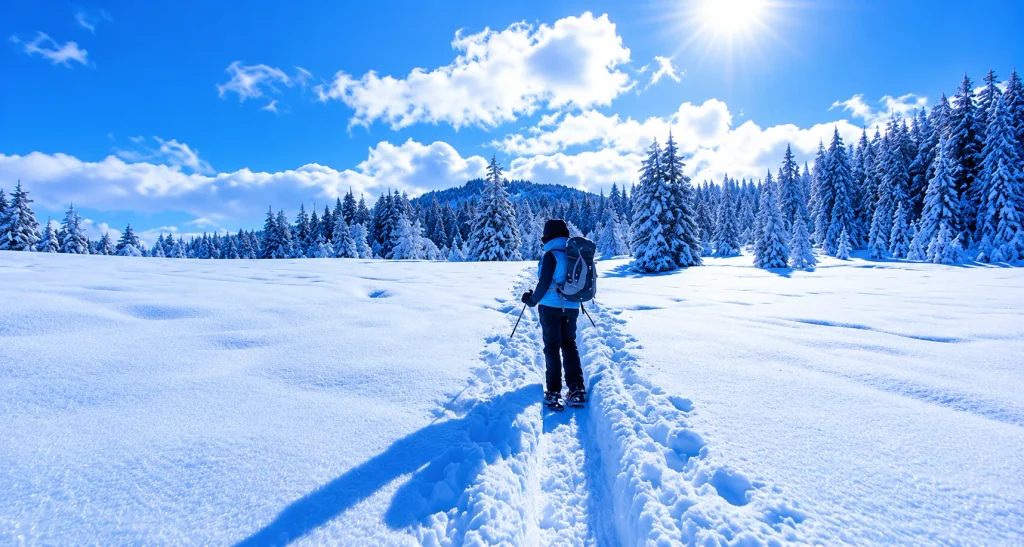
First, look for flat or gently rolling terrain. Elevation gain is the enemy of a happy beginner. A route with 200 feet of climbing over two miles will feel friendly; the same distance with 1,500 feet of gain will not.
Keep the distance modest. Snow slows you down. If five miles is your comfortable summer hike, plan for three on snowshoes, because you’ll move at one to two miles an hour and burn more energy doing it.
Choose marked, popular, low-avalanche routes. Groomed Nordic centers, national park corridors, and Sno-Park loops keep you close to help and far from steep, slide-prone slopes. Save the backcountry bowls for after you’ve taken an avalanche course.
Finally, favor a loop or an out-and-back with an obvious turnaround. Snow erases trail markers and makes familiar junctions vanish. A route you can’t lose is worth more than a scenic one you can.
The 4-Point Beginner Trail Test
- Flat-ish: under ~500 ft of gain
- Short: 1–3 miles for your first outings
- Marked & popular: groomed Nordic center, park corridor, or Sno-Park
- Low-avalanche: away from steep, open slopes
With that filter in hand, here are the regions and specific trails I’d send any beginner to first.
Best Beginner Snowshoe Trails at a Glance
| Trail | Region | Distance | Difficulty | Why Beginners Love It |
|---|---|---|---|---|
| Discovery Challenger Loop | Winter Park, CO | 1.2 mi loop | Easy | 30-min confidence builder |
| Jim Creek Trail | Winter Park, CO | ~3 mi out-and-back | Easy–Mod | Frozen falls, turn back anytime. |
| Fraser River Trail | Winter Park, CO | Variable | Easy | Flat, town-to-town, hard to lose |
| Bear Lake Loop | Rocky Mountain NP, CO | ~0.7 mi loop | Easy | Alpine lake ringed by peaks |
| Dream Lake | Rocky Mountain NP, CO | 2.2 mi out-and-back | Easy–Mod | Postcard views the whole way. |
| Spooner Lake Loop | Lake Tahoe, NV | 3-mile loop | Easy | Flat, quiet, big water views |
| Chickadee Ridge | Lake Tahoe, NV | ~2 mi out-and-back | Easy–Mod | Birds land on your palm. |
| China Cove Loop | Truckee, CA | 3-mile loop | Easy | Snow-framed pines, lake spur trails |
| Millcreek Canyon | Wasatch, UT | Variable | Easy | Deep snow, an hour from SLC |
The Best Trails for Winter Snowshoeing in Winter Park, Colorado
If I had to send a first-timer to one town, it would be this one. Winter Park snowshoeing hits the sweet spot: high, reliable snow, miles of beginner-friendly terrain, and enough rental shops and guides that you can show up with nothing and leave with a full day behind you.
Discovery Challenger Trail
Start here. The Discovery Challenger Trail is a 1.2-mile loop that most people finish in about half an hour, on mostly level ground. It is the gentlest possible introduction, ideal for kids or anyone testing whether they even like the feeling of oversized feet. Nail this, and your confidence for everything else clicks into place. For a lot of visitors, this short loop is where best trails for winter snowshoeing Park Best Trails for Winter Snowshoeing best trails for winter snowshoeing stops being an idea and starts being a habit.
Jim Creek Trail
When you’re ready to stretch the day, the Jim Creek Trail sits just across the highway from Winter Park Resort. The route eases into the Arapaho National Forest, wanders past old-growth spruce and fir, and rewards you with a small set of frozen falls if you go far enough. It’s rated easy to moderate, so treat the far end as optional and turn back whenever your legs vote. It’s one of the more photogenic Best Trails for Winter Snowshoeing routes, but trailhead and road access can change with National Forest closures, so check the current status before you drive up.
Fraser River Trail and the Nordic Centers
Some of the best trails for winter snowshoeing near town need no map at all. For groomed, worry-free terrain, the Fraser River Trail links downtown Winter Park to the town of Fraser on flat, scenic ground that’s hard to lose. Prefer a little structure? Snow Mountain Ranch runs a Nordic center with over 75 miles of terrain and designated snowshoe-only routes, plus rentals for adults and kids. Devil’s Thumb Ranch offers a similar polished experience for a day fee. Both best trails for winter snowshoeing Park Resort and nearby ranches run guided snowshoe tours with no experience required, which is the fastest way to learn technique and local ecology in one outing.
The reason Winter Park’s best trails for winter snowshoeing work so well for beginners is redundancy. If a trailhead is gated, a groomed Nordic loop sits ten minutes away. If the weather turns, a guide has already scouted a safe alternative. That safety net matters more on your first few trips than any single view.
Rocky Mountain National Park: Beginner Routes With Postcard Payoffs
A short drive from Winter Park and Estes Park, Rocky Mountain National Park offers some of the most rewarding Best Trails for Winter Snowshoeing in the country, and rangers make it easy to start. If you love exploring protected landscapes, our guide to national parks in California is a great next read for warmer-season trips.
The Bear Lake corridor is a beginner’s playground. A gentle loop around Bear Lake itself asks little and returns a frozen alpine lake surrounded by peaks. Want a bigger challenge? Push on toward Dream Lake, a 2.2-mile out-and-back that is easy to moderate and offers mountain and forest views all the way. Emerald Lake extends that same route to about 3.2 miles round trip for those with more in the tank.
The park’s best-kept beginner secret is its ranger-led snowshoe walks, held on select days from January to March. There is no fee for these two-hour ecology walks beyond park admission, and you walk with someone who knows the snowpack and the safe lines. Reservations are required, so book ahead. A ranger at your side is as valuable for a nervous first-timer as any guidebook.
Insider tip: Ranger-led walks book out fast on best trails for winter snowshoeing weekends. Plan your travel dates early and reserve your own snowshoes separately, since the program provides guiding only, not gear.
For a beginner trip to Emerald or Dream Lake, plan on around five hours, snacks and all. Best Trails for Winter Snowshoeing is slower than hiking, but that’s the point.
Lake Tahoe: Flat Meadows, Friendly Birds, and Big Water Views
Tahoe gets an absurd amount of snow and 300-ish days of sun, which makes it one of the most forgiving places in the West to learn. The region is stacked with easy loops.
Spooner Lake Loop
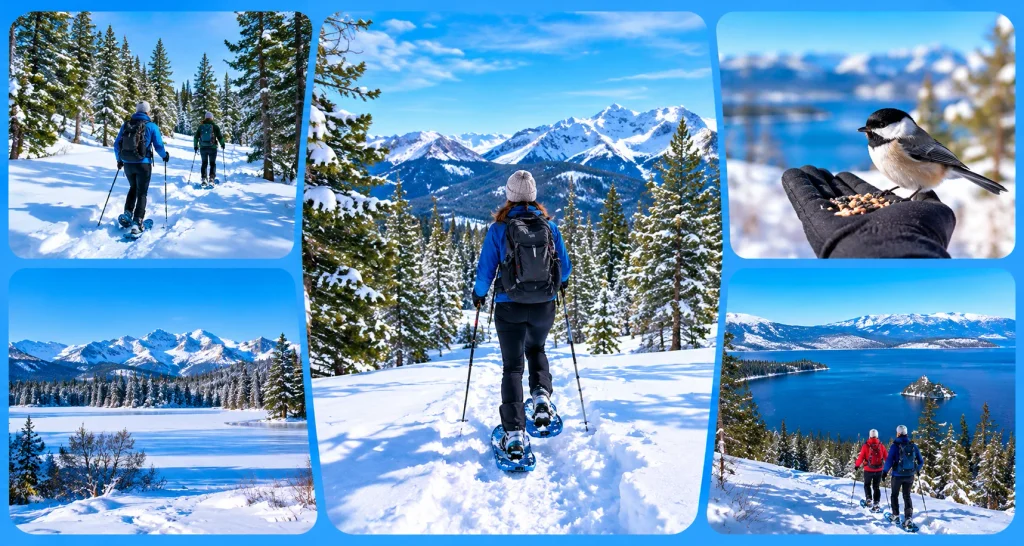
Spooner Lake is my go-to recommendation: a flat three-mile loop with quiet forest and open views, tucked into Lake Tahoe Nevada State Park. It’s the kind of route where you can teach a total newcomer and still enjoy yourself.
Chickadee Ridge and Tahoe Meadows
Chickadee Ridge, near Tahoe Meadows on the north side, is short, picturesque, and renowned for its mountain chickadees, which will land on an open, seed-filled palm if you’re patient. It’s a beginner classic for a reason, though weekend parking fills fast. Tahoe Meadows itself has wide, mostly flat terrain that connects to the Tahoe Rim Trail if you want to go further.
Truckee, China Cove, and Rabe Meadow
Over near Truckee, the Tahoe Donner cross-country center offers designated snowshoe singletrack, and China Cove loops three easy miles around Donner Memorial State Park with mini-paths peeling off toward the lake. Rabe Meadow, just outside South Lake Tahoe, offers mostly flat terrain with free parking and easy access, a good choice when the popular lots are already full. Each has the same reward: sweeping water views and terrain that won’t punish a rookie, which is what you want from your first few days of Best Trails for Winter Snowshoeing. Planning a longer trip around the lake? See our list of the best places to visit in California.
Utah’s Wasatch: Learn Winter Snowshoeing Near the City
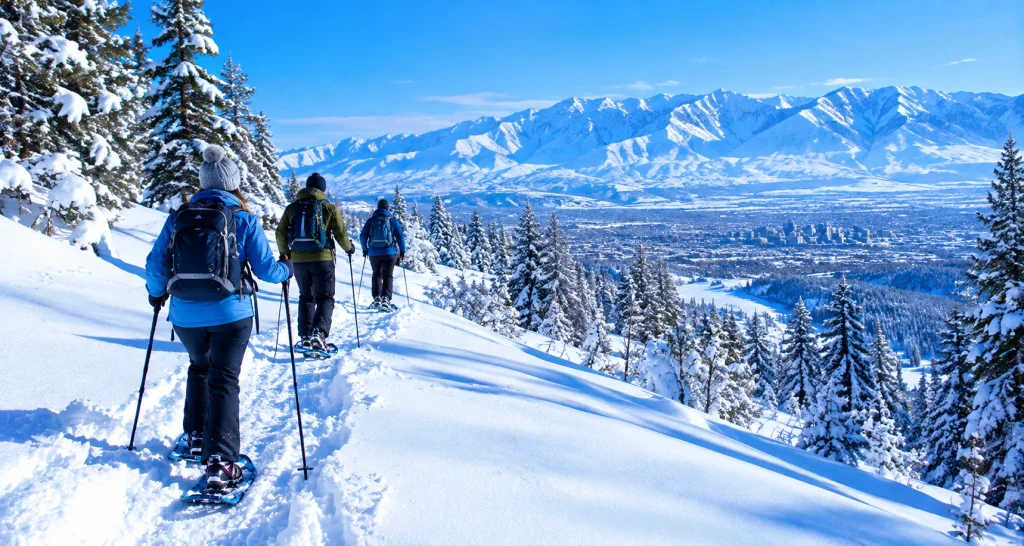
If you’re flying into Salt Lake, you don’t have to go far. The Wasatch Range offers beginner-friendly trails for best trails for winter snowshoeing within an hour of downtown, and several Nordic centers rent gear on-site.
Millcreek Canyon and the Spruces Campground in Big Cottonwood Canyon offer deep, reliable snow and gentle grades for a first try. Park City Nordic operations and White Pine Touring offer rentals, lessons, and guided walks, including moonlight tours lit only by headlamp and the moon. For a self-guided easy day, look for short interconnected loops at the local Nordic centers, many of which string together half-mile to two-mile segments so you can build distance at your own pace.
The Wasatch is serious avalanche country once you climb, so stick to the marked, low-angle terrain the Nordic centers maintain until you’ve done real training.
Best Trails for Winter Snowshoeing Gear You Actually Need (and What You Can Skip)
Here is the honest gear list, stripped of the upsell.
| Gear | Do You Need It? | What to Know |
|---|---|---|
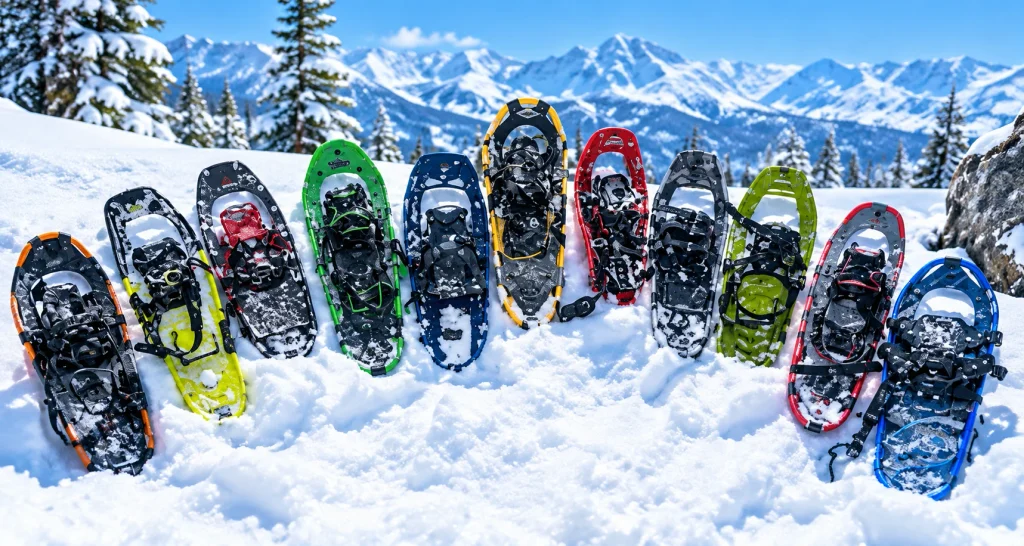
| Snowshoes | Essential | Rent first. Sized by total weight (you + pack). MSR, Tubbs, and Atlas make solid beginner models. |
| Waterproof insulated boots | Essential | Your everyday winter boots often work. Pair with wool or synthetic socks, never cotton. |
| Trekking poles + snow baskets | Recommended | Optional on flat ground; they save your balance and knees on hills. Elbow at 90° when the tip rests on snow. |
| Non-cotton layers | Essential | Wicking base, insulating mid, and waterproof shell. Start slightly cold so you don’t soak through. |
| Gaiters, gloves, hat, sunglasses | Essential | Snow reflects UV even under clouds. Gaiters keep powder out of your boots. |
| Winter Ten Essentials | Essential | Water, snacks, headlamp, map/GPS, first-aid, fire starter, emergency blanket, whistle, sun protection, and a charged phone. |
| Avalanche kit (beacon, probe, shovel) | Backcountry only | Skip only on flat, marked, low-angle beginner terrain. Mandatory (plus training) for steeper backcountry. |
Pack smart: Cold drains phone batteries fast, so keep yours in an inner pocket and carry backup navigation. Best Trails for Winter Snowshoeing is deceptively aerobic, so a spare dry base layer for the trip back is the single most underrated item in your pack.
Best Trails for Winter Snowshoeing Technique: It’s Walking, With Two Small Tweaks
The whole method fits on an index card.
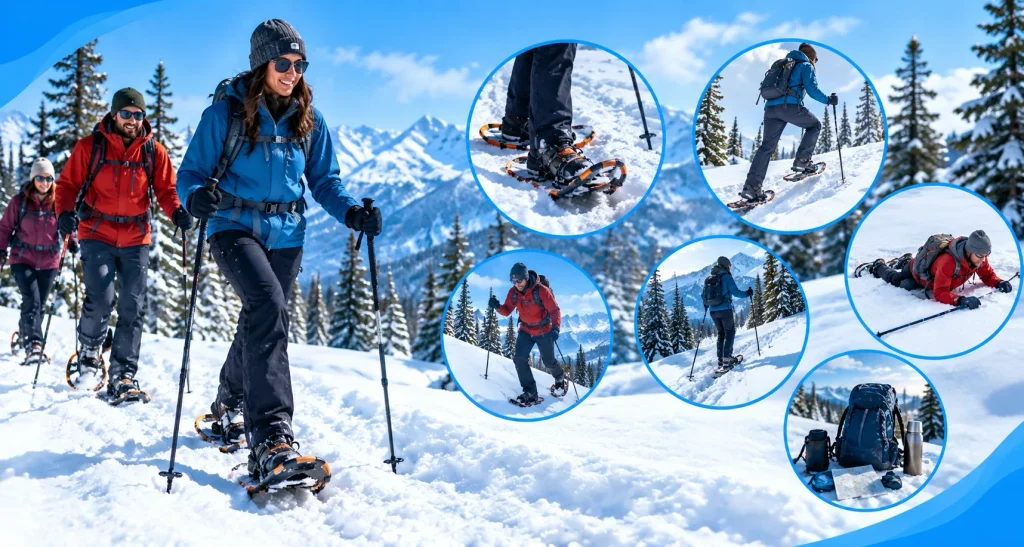
On flat ground, walk as you normally would, with a slightly wider stance so you don’t clip the inside edges of your frames and trip. That’s the entire lesson for most beginner trails.
Add hills, and you add two moves. Going up, kick the front points of your snowshoes into the snow to build a little step, keep your weight centered, and flip up the heel-lift bar if your shoes have one to spare your calves. Coming down, bend your knees, keep your weight slightly back, land on your heels to engage the rear crampons, and take short, controlled steps. Lean too far back and you’ll slide, so ease into it.
And you will fall. Everyone does. To get up in deep powder, cross your poles into an X on the uphill side of your body and press up off that platform. No poles? Pack the snow down with your hands into a firm base, then push off it. Turn your head upslope, plant, and rise.
The Whole Technique on One Card
| Terrain | What to Do |
|---|---|
| Flat | Walk normally, with a slightly wider stance so frames don’t clip. |
| Uphill | Kick front points in, keep weight centered, and flip up the heel-lift bar. |
| Downhill | Knees bent, weight slightly back, landing on heels, short steps. |
| Traverse | Edge the uphill snowshoe in, and plant the pole on the uphill side. |
| After a fall | Cross poles into an X uphill, or pack a snow base, then push up. |
Staying Safe and Keeping the Peace on the Trail
The best trails for winter snowshoeing environment demands more respect than a summer trail, but a handful of habits cover almost everything.
Pre-Trip Safety Checklist
- Checked the weather and avalanche forecast? A storm or high winds in the forecast means reschedule.
- Told someone your route and turnaround time?
- Packed the Ten Essentials and extra water?
- Sticking to marked, low-angle trails near help?
Check the weather and avalanche forecast before every trip, even a mellow one. Free regional avalanche centers, which you can find through Avalanche.org, publish daily bulletins. If a storm, high wind, or heavy snowfall is in the forecast, reschedule.
Tell someone your plan and your turnaround time, and stick to it. Avoid going out alone on your first few trips. Stay on marked trails where help is nearby, and turn around the instant conditions or your own energy makes you uneasy. There’s no prize for pushing on.
Eat and drink more than feels necessary. Your body makes heat by burning calories, and cold, dry air pulls water out of you without the thirst cue you’d get in summer. Watch for the early signs of trouble in yourself and your group: persistent shivering, clumsiness, confusion, and slurred speech. Change any wet layer the moment you can.
Trail Etiquette for Snowshoers
One piece of etiquette marks you as a considerate snowshoer. Never walk on the groomed classic tracks set for cross-country skiers. Step to the side, walk single file on shared trails, and yield to skiers, who move faster and stop less easily than you do. Follow Leave No Trace, pack out everything, and keep the quiet that drew you there in the first place.
The Only Step That Really Matters
The trails in this guide will be here next weekend, blanketed and waiting: Winter Park’s gentle loops, ranger walks in Rocky Mountain National Park, the flat shimmer of Spooner Lake, and the chickadees at Tahoe Meadows. None of them want you to be an athlete. They want you to show up, point your boots at the snow, and take the first crunching step. The best trails for winter snowshoeing are not the hardest or the highest; they are the ones that get you out the door and leave you grinning at the end.
That is the entire trick to finding the best trails for winter snowshoeing: start small, stay safe, and let the quiet take care of the rest. Rent a pair this week, pick the shortest loop on this list, and go feel what the best trails for winter snowshoeing sound like when you slow down enough to hear it. And if you’re planning a snowy escape for two, browse our romantic getaways for couples in the USA for cozy base camps.
A brief note before you go: trail access, grooming, fees, and program schedules change with weather and season, and prices vary by location. Check current conditions, closures, and rental costs with the local ranger station, Nordic center, or resort before you head out.
FAQs
1. Do I need any experience to try snowshoeing?
Ans: None. If you can walk in winter boots, you can snowshoe on flat terrain within minutes. Pick a short, level loop like Spooner Lake or the best trails for winter snowshoeing, Park’s Discovery Challenger Trail, keep the distance modest, and you’ll be comfortable almost immediately. A guided tour is a great way to learn the few hill techniques in one outing.
2. When is the best time of year for winter snowshoeing?
Ans: Most regions have reliable snow from December through March, sometimes into April at higher elevations. Snow at lower elevations tends to arrive later and melt sooner, so always check current conditions and grooming reports before you drive out. Early season and late season can leave thin coverage that’s better suited to microspikes than snowshoes.
3. How much does it cost to get started?
Ans: Far less than skiing. Snowshoe rentals typically run a fraction of a lift ticket, and many national park and Nordic-center programs charge little or nothing beyond a day pass or park entry. Rent your first few times to figure out what terrain you like before you commit to buying a pair.
4. Are the best trails for winter snowshoeing dog-friendly?
Ans: Many are, though it depends on the specific trail and land manager. Groomed Nordic centers sometimes restrict dogs to designated routes, while national forest and state park trails are often more relaxed. Several Tahoe routes welcome leashed dogs. Always confirm the rules for your exact trail and keep pets leashed where required.
5. How do I stay safe from avalanches as a beginner?
Ans: The simplest answer is to stay off avalanche terrain completely. The beginner trails in this guide are laid on flat, low-angle ground away from slide paths. Steer clear of steep open slopes above about 30 degrees, check the local avalanche bulletin before every outing, and take a proper avalanche course before you ever venture into steeper backcountry.
6. What should I wear so I don’t freeze or overheat?
Ans: Dress in adjustable, non-cotton layers and start slightly cool. A moisture-wicking base, insulating mid-layer, and waterproof shell can be used for most kinds of weather. Add a warm hat, gloves, gaiters, and sunglasses, and carry a warm, dry base layer for the return journey. The best trails for winter snowshoeing are hot, so you’ll shed layers faster than you expect.